Thursday, July 28, 2011

Blue Daygown With Fabric Ruffle

Another version of Sarah Howard Stone's Babette Pattern is a daygown with a ruffle down one side of the placket.  This gown is made with pastel blue Swiss batiste and ecru lace edging. 


Lace beading was sewn to the leading edge of the placket and then entredeux was attaced to the beading.  The fabric ruffle was rolled and whipped and attached to the entredeux by hand.  The embroidery consists of bullion roses and bullion leaves.  The DMC colors used are light pink #819, dark pink #776, and green #504.  (see picture below)

Sewn for Sarah Howard Stone, Inc.

Pink Scalloped Yoke Dress

To create this shaped yoke in a size 4,  I took the Basic Yoke Dress by Sarah Howard Stone, Inc. in a size four and made adjustments to the front by adding the three scallops.  The scallop peak hits at the bottom of the basic yoke front and the valley of the scallop extends a half inch past the bottom. For the back yoke, I used the pattern in the Basic Yoke Dress without any adjustments (the back yoke is not scalloped).  I also used the sleeves from this pattern.  Due to the scallop yoke, the skirt front was cut using the skirt guide from Sarah Stone's Pattern Package I. 


Sewn for Sarah Howard Stone, Inc.

Pastel Green Scalloped Yoke Dress

This beautiful dress is made using pastel green Swiss batiste.  It features a scalloped yoke with embroidery.  The skirt has lace work forming tear drops with embroidery in the center scallop.  Wide lace edging is gathered around the bottom of the skirt to create a ruffle.  It would have been appropriate to put embroidery inside the loops of the lacework on the skirt or in the curve of the band or both. 

This dress was designed by and made for Sarah Howard Stone, Inc.

Flannel Baby Blankets With Crocheted Edge

These blankets can be ordered on-line, just google "hemstitched baby blanket".  As you crochet, trim off the raw edge to within 1/4 inch of hemstitching.  I usually trim off only 10-12 inches at a time, because the flannel fabric does unravel easily.  Use a size 8 pearl cotton thread.  You will need two skeins of thread per blanket.
 
 
Instructions for the Shell-stitched Crochet Edge:
 
First Round:  Begining in one corner, with slip stitched ring on hook, put needle through one hole of hemstitch, yarn over and pull through hole leaving loop on hook.  Yarn over and pull thread through both loops on needle.  Single crochet completed. Complete a single crochet in each hole of hemstitching around perimeter of blanket.  Once around, slip stitch with first single crochet to complete round.
 
Second Round: Chain one. Double crochet in third single crochet of previous round. *Chain one.  Double crochet in same single crochet as previous double crochet.  Repeat three times. (Double - chain - double - chain - double - chain - double - chain - double all in same single crochet from previous round). Skip two single crochets from previous round and single crochet in next single crochet of previous round. Shell stitch is now complete.  Repeat shell stitch around perimeter of the blanket and slip stitch with first chain of first shell stitch to complete round Hint: You may have to adjust the number of skipped single crochets of previous round to complete repeat of the design.
 
 
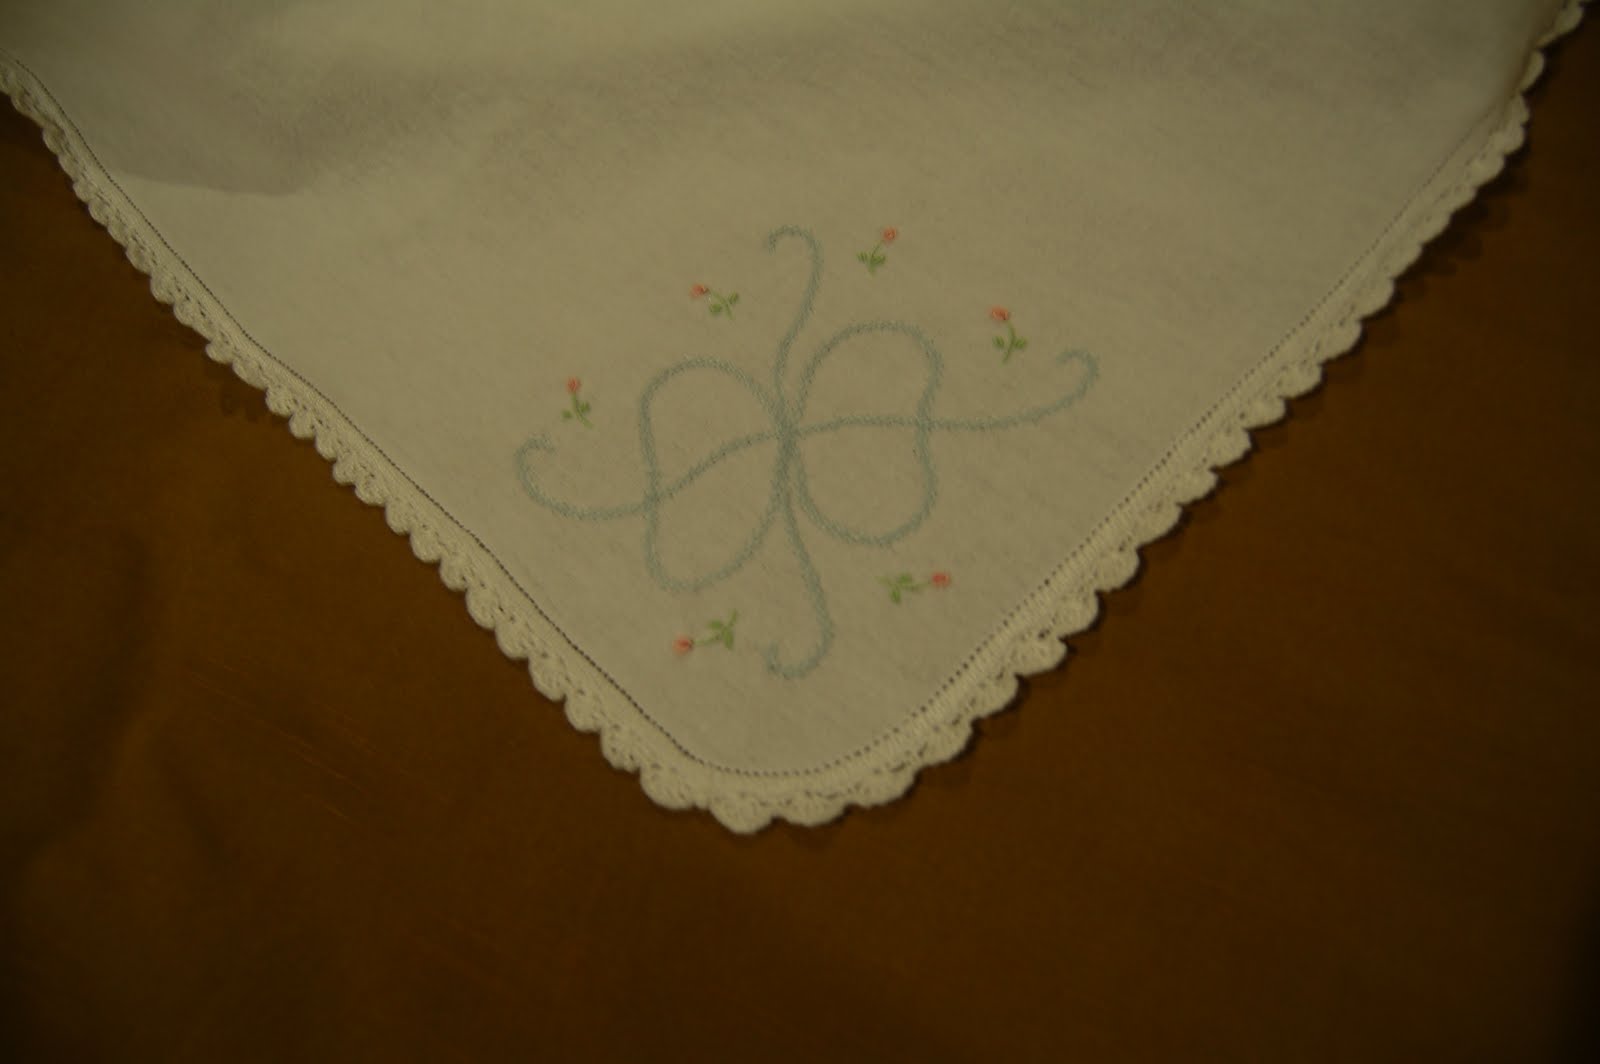
These flannel blankets are so soft and only get softer with washing.  They are light weight and wonderful on warm days.  I always carried one with me to cover myself while nursing.  If you have any questions, please feel free to ask.  I will be glad to help in any way I can.
 
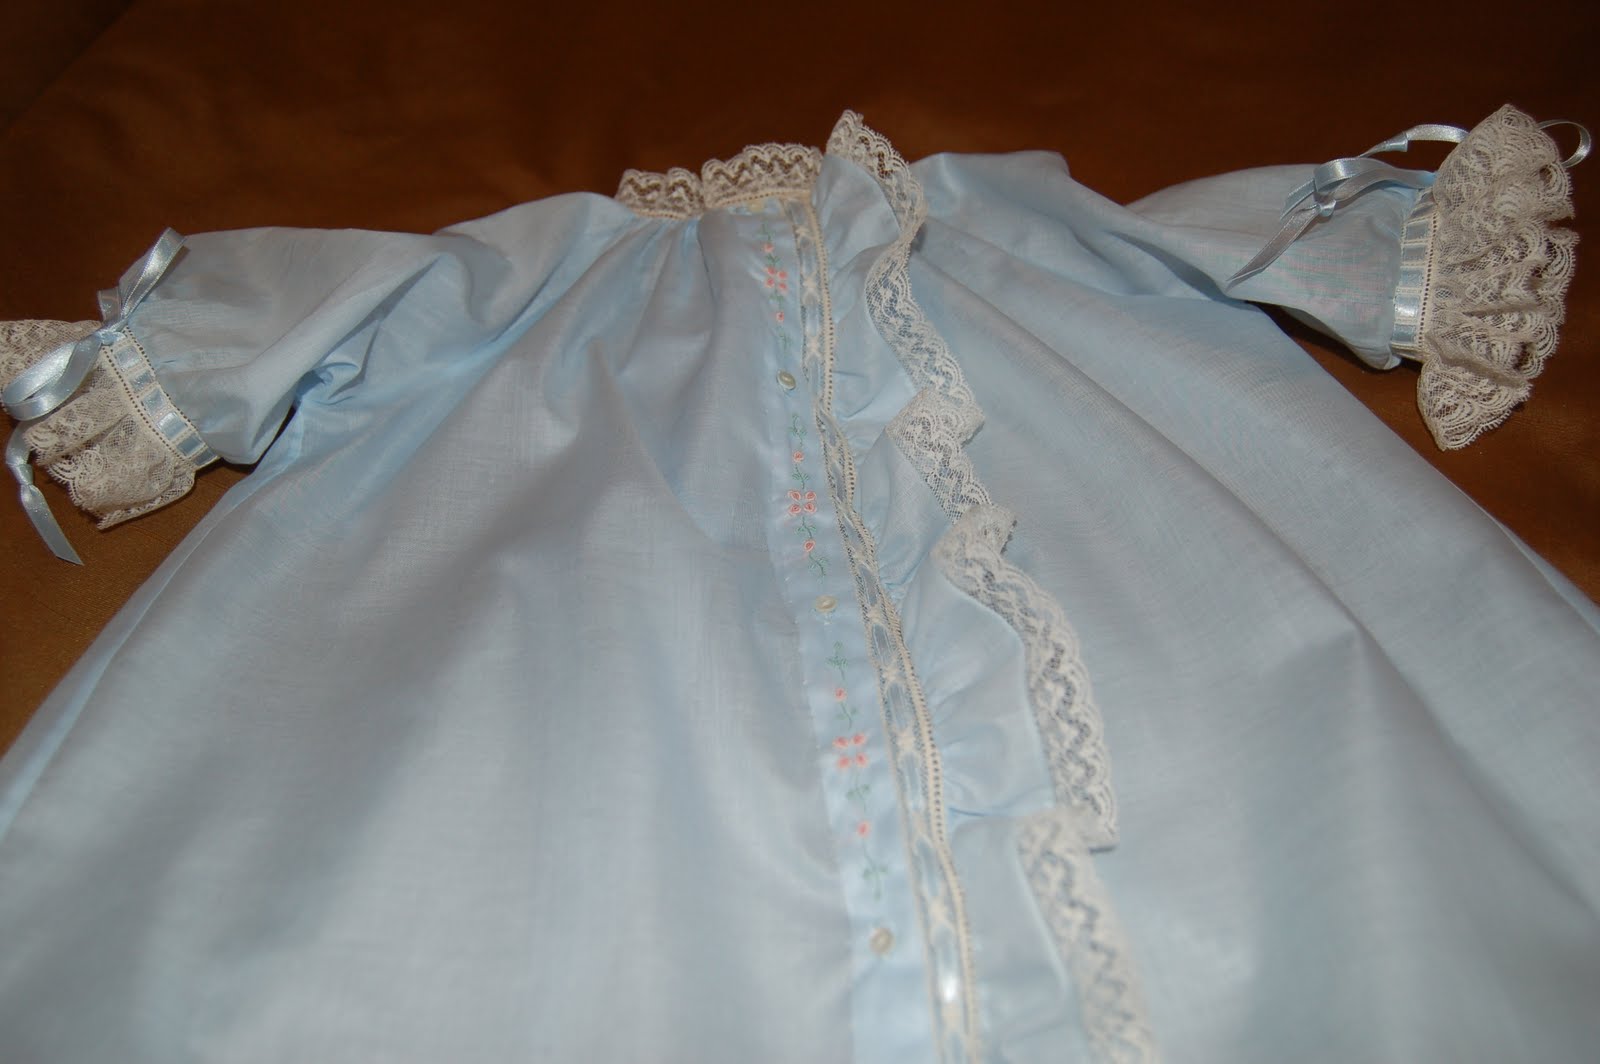
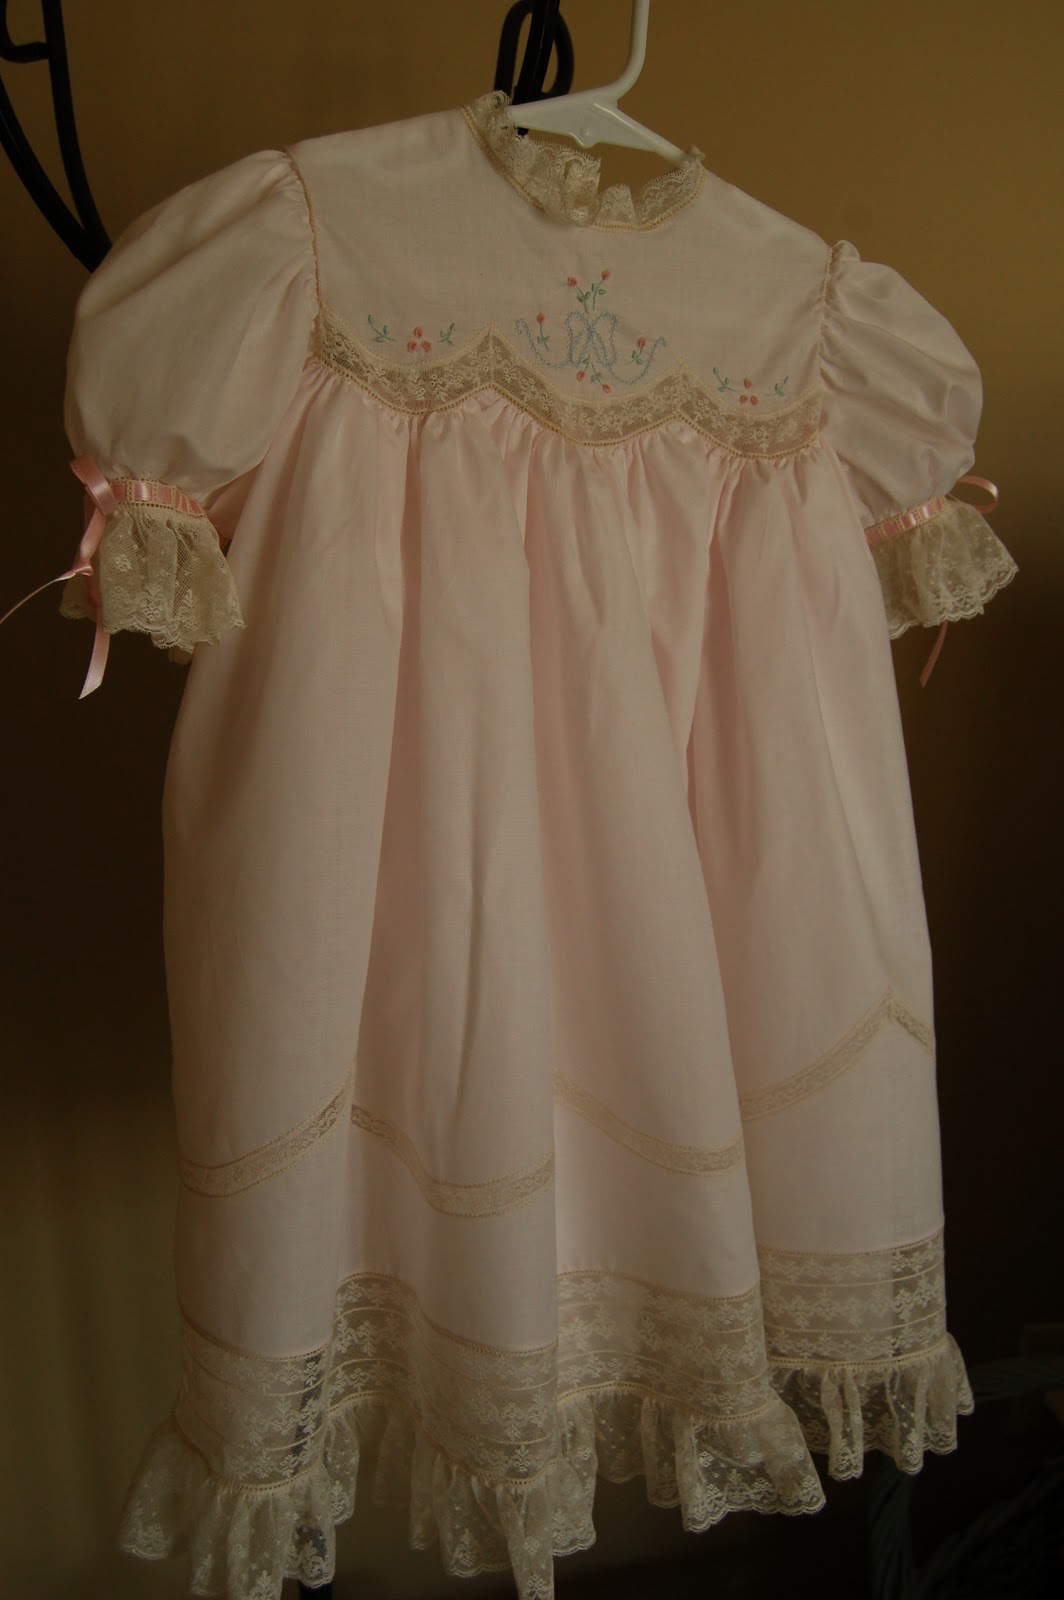
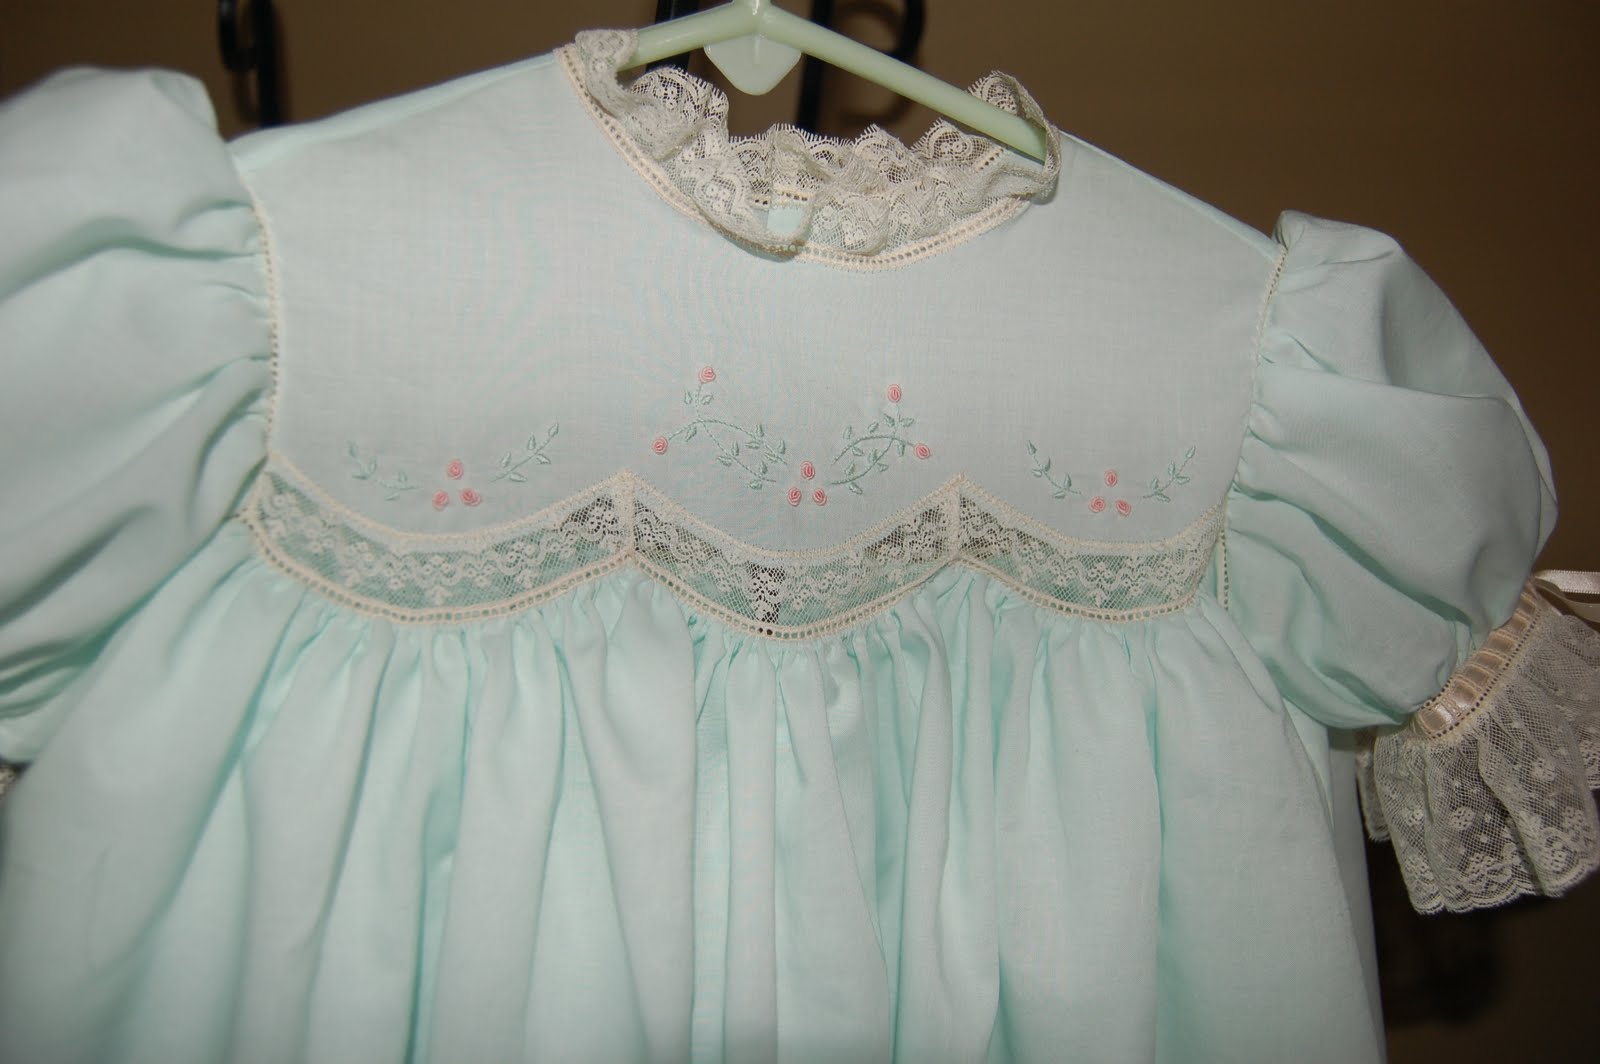
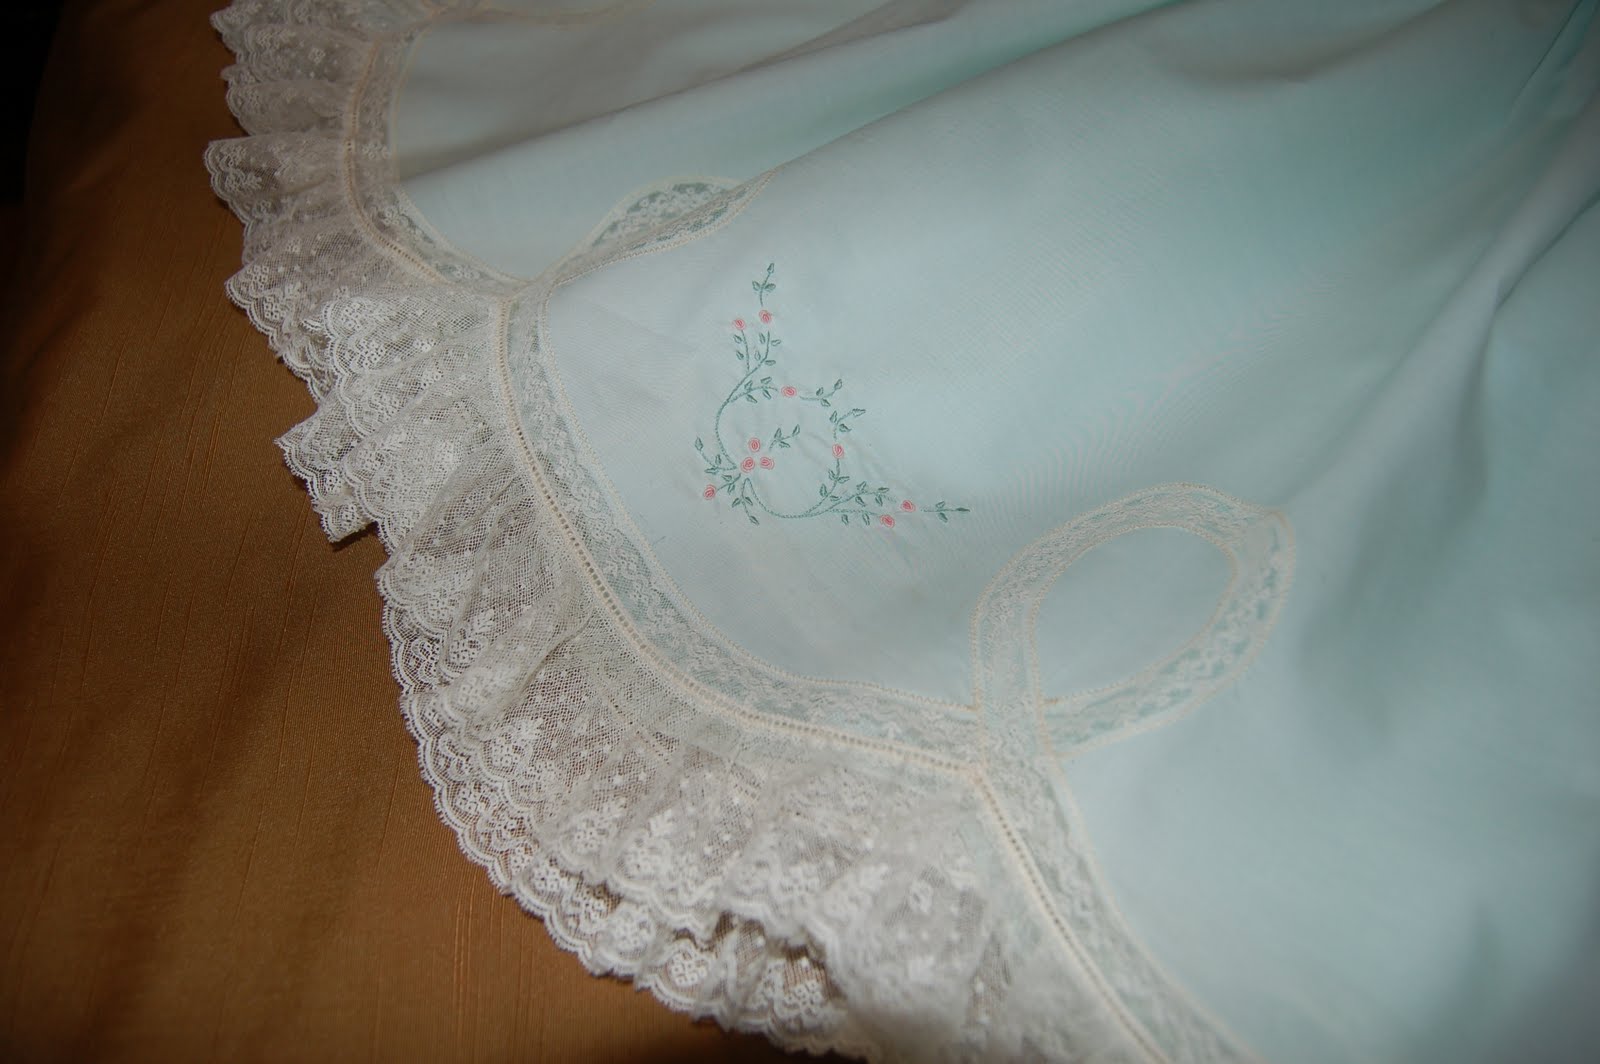
Embroidery:  Featherstitched bow (blue, floche #775), bouillon rosebuds (dark pink, floche #776, and light pink, floche #819), and green stems and leaves (green, floche #369)


Vintage Tatted Bonnet

Yesterday, a vintage tatted bonnet I purchased arrived and I am so pleased with it.  At first though, I was a little nervous about it.  It had a blue fabric liner in it, which was stained, and the blue ribbons had seen much better days. The liner was hand whipped on which made it easy to remove and the ribbons also were removed and replaced.  The bonnet had been stored flat and a crease had formed down the center of it.  Here are some before pictures: 
The inside out view:
    
The changes I made were really quite simple.  I removed the liner and replaced the blue ribbon with new ecru ribbon. Liners in tatted bonnets are a personal preference.  They are helpful in making the bonnet warmer in cold weather.  I preferred to leave it without one.  The fold crease ironed out easily.  Here are the after pictures:
     
I recently purchased the pattern for this bonnet on eBay and I look forward to one day recreating this bonnet.  It is such a lovely design and is tatted in two separate pieces. The scalloped front ruffle is actually tatted separately and then hand whipped on to the bonnet itself. 
My hope is to design and make a christening dress to match this extraordinary bonnet.  Until then, this bonnet is available separately at $125.
 

Tatted Baby Bonnet

This tatted bonnet was created using the pattern found at http://www.tat-man.net/tatterville/tatpatterns/antiquepatterns/antbonnet1.html.   The first time I made a bonnet using this pattern I found it to be smaller than I anticipated.  For this bonnet, I enlarged it just a tad by adding an entire round following the pattern's round five.  To create a round six I used the following directions:
  • Round Six: R: 3+(to 3rd p of chain of last row) 3, cl, leave 1/4 inch thread, rw.  R: 5-2-2-2-2-5, cl, leave 1/4 inch thread, rw.  R: 3+(to 5th p of same chain of last row) 3, cl, leave 1/4 inch thread, rw.  R: 5 +(to last p of adj r in this row) 2-2-2-2-5, cl, leave 1/4 thread, rw.  Repeat around, alternating small and large rings, joining first and last large rings together and small rings to the preceding row.  Tie and work in ends.
Just adding this round increased the size of the bonnet.  Instead of six medallions, I now tatted eight to go around the face of the bonnet.  The only other change I made was to leave eight instead of six open rings on round six of the pattern instructions.  The bonnet measures 12 3/4 inches from ear to ear and measures 7 3/4 inches from front to back.  I used ecru thread in size 100 which created a light, ethereal bonnet.
 
Sandy, thank you for entrusting me with the privilege of making an heirloom treasure for your newly arrived granddaughter.  I pray it will bless both you and her.
 

All Lace T-Cap Bonnet

The following is an example of an all lace T-cap bonnet.  It is such a sweet, simple bonnet.  A T-cap bonnet has two lace blocks, one 12 inches by 3 1/2 inches and another 5 3/4 inches by 2 1/2 inches.  Entredeux is stitched around four sides of the larger block and on three sides of the smaller block (the two long sides and the one short side).  Lace edge is then gathered to the entredeux.  The smaller block is whipped to the larger one centering it on one long side. Ribbon ties are stitched to the two blocks in order to tie the back of the bonnet together.  These bonnets are often made for infants to use with daygowns or christening gowns.  I made one for my girls to wear with their christening gown. The pink knotted rosettes are made using 1/8 inch ribbon.


Pink Daygown With Rosebud Embroidery

This daygown is another version of the Babette pattern by Sarah Howard Stone, Inc.  This gown was made using pale pink Swiss batiste.  It has ecru lace edge gathered down either side of the placket.  There is a wide lace edge ruffle at the sleeves attached to entredeux beading.  The embroidery consists of pink bullion roses and satin stitch leaves.  The colors used in the embroidery are DMC #819 (pale pink), #776 (dark pink), and #504 (green).